Quick Start
Get FiestaBoard running in under 5 minutes. There are two supported paths:
- Flash a Raspberry Pi with FiestaPi — the easiest route for anyone, technical or not.
- Run with Docker on a computer or home server you already own.
🥇 Easiest: Flash a Raspberry Pi (FiestaPi)
Have a Raspberry Pi 3B or newer? Flash a microSD card with our pre-built FiestaPi image using Raspberry Pi Imager, boot the Pi, and open a browser. No Docker setup, no command line, no config files. FiestaPi self-updates with one click in Settings.
→ FiestaPi Quick Start — Download, flash, boot, done.
This is what we recommend for almost everyone — including users who have never used Docker, a terminal, or a Pi before. The Pi is inexpensive, low-power, runs 24/7, and is purpose-built to be a reliable always-on display controller.
Any Raspberry Pi 3B / 3B+ / Zero 2 W / 4 / 5 with 1 GB+ RAM works. Pi 4 and Pi 5 are great choices and have been thoroughly tested.
Alternative: Docker (any computer)
Already have a laptop, desktop, NAS, or home server you'd rather use? FiestaBoard runs anywhere Docker runs. You'll need:
- Your board's API key (how to find it)
- Docker and Docker Compose (install Docker Desktop)
If you've never used Docker before, the Beginner's Guide walks through every step.
Option 1: Pull from Docker Hub (no clone needed)
No repository to clone. Pick a folder to live in and run three commands:
# Create a dedicated folder and move into it (your settings will live here)
mkdir -p ~/fiestaboard && cd ~/fiestaboard

# Download the compose file
curl -O https://raw.githubusercontent.com/Fiestaboard/FiestaBoard/main/docker-compose.hub.yml

# Start FiestaBoard (pulls the image automatically)
docker-compose -f docker-compose.hub.yml up -d
Open http://localhost:4420 in your browser. You'll see the FiestaBoard dashboard.
docker compose commands from this same folderFiestaBoard persists its config, board credentials, pages, and plugin keys in a ./data directory created next to the compose file. The path is relative to your current shell directory, not a fixed location.
That means: when you later update with docker compose pull && docker compose up -d, you must cd ~/fiestaboard (or wherever you put it) first. Running the commands from a different folder will start FiestaBoard with an empty ./data and your settings will appear to have reset. If that happens, see Troubleshooting → Settings or board credentials are gone after an update.
FiestaBoard advertises itself on your local network via mDNS/Bonjour. From any device on the same network you can use http://fiestaboard.local:4420. If .local addresses don't work on your network, use your server's IP address instead (e.g. http://192.168.1.50:4420).
Option 2: Clone and use the install wizard
Clone the repository and run the install script. It checks prerequisites, starts the server, and opens the setup wizard in your browser:
git clone https://github.com/Fiestaboard/FiestaBoard.git
cd FiestaBoard

# Mac/Linux
./scripts/install.sh

# Windows (PowerShell)
.\scripts\install.ps1
The wizard asks for your board API key, device type, and board color, then starts everything for you.
Connect Your Board
Once FiestaBoard is running (either on your Pi at http://fiestapi.local:4420 or on your computer at http://localhost:4420):
- The setup wizard will guide you through connecting your board (or go to Settings if you've already been through setup)
- Once connected, the display service starts automatically
- Verify the dashboard shows Running — your board is now connected!
What to Do Next
Now that FiestaBoard is running, you'll want to:
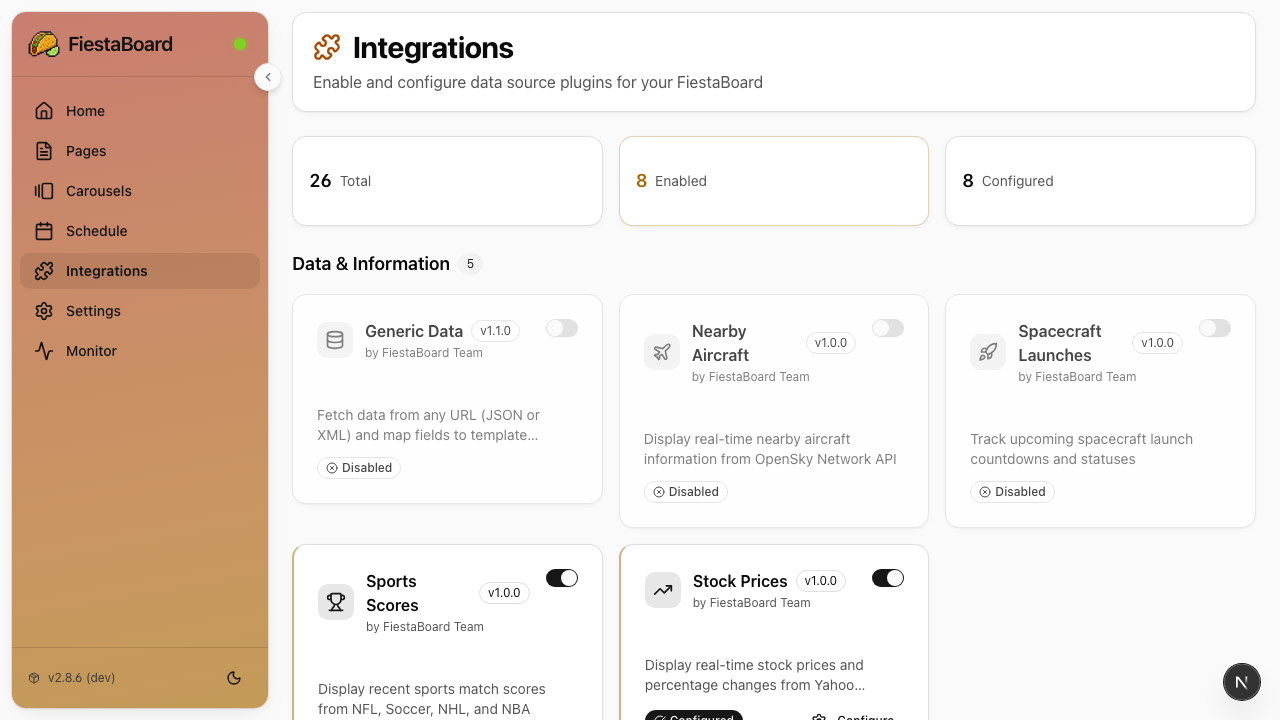
- Enable some plugins - Go to the Integrations page and turn on plugins like Date & Time, Star Trek Quotes, or Weather
- Create your first page - Go to Pages, click New, and use the visual editor to design what your board shows
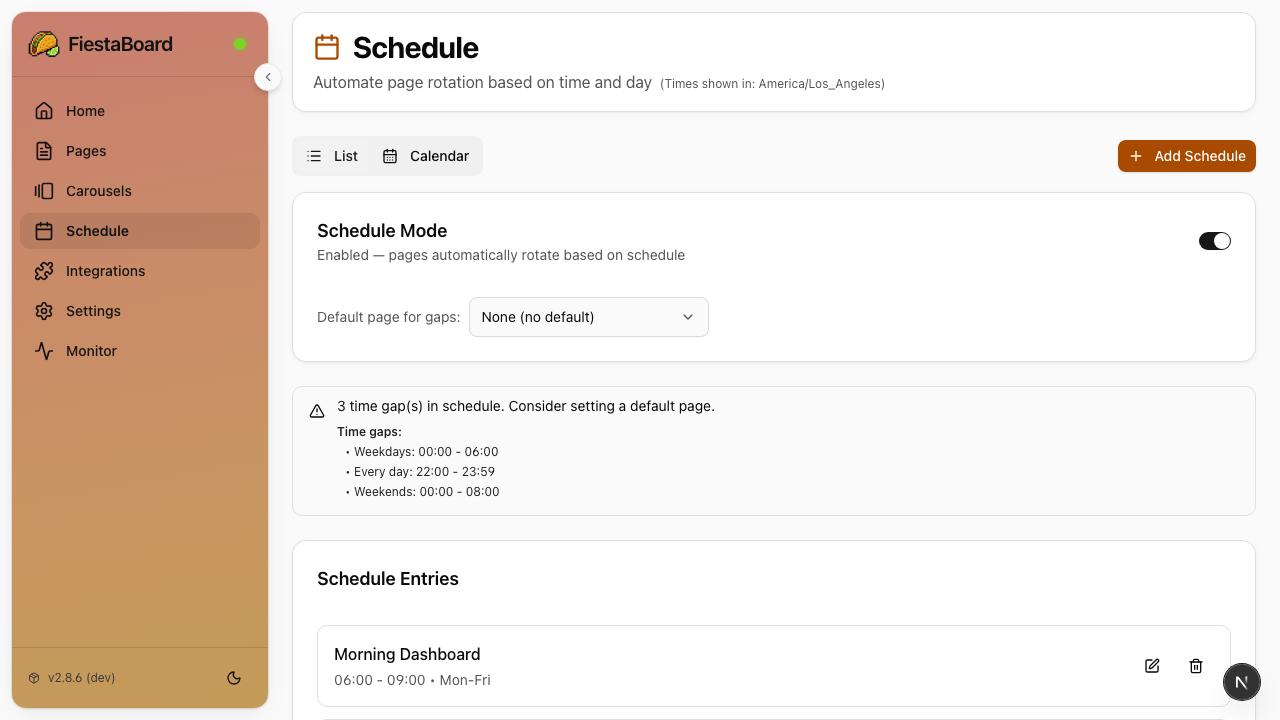
- Set up a schedule - Go to Schedule to automate which pages display at which times
Many plugins need no API key: Date & Time, Star Trek Quotes, Guest WiFi, Visual Clock, Sun Art, Disney Parks, Surf Conditions, and more. Start with those while you gather API keys for weather, traffic, etc.
For a full walkthrough, see Your First 10 Minutes.
Getting Your Board API Key
Have your board API key ready before running setup. There are two connection modes:
Local API (Recommended)
Faster updates, supports transition animations, works over your local network.
- Request a Local API enablement token at the Vestaboard Local API token page
- After approval, Vestaboard emails you the token
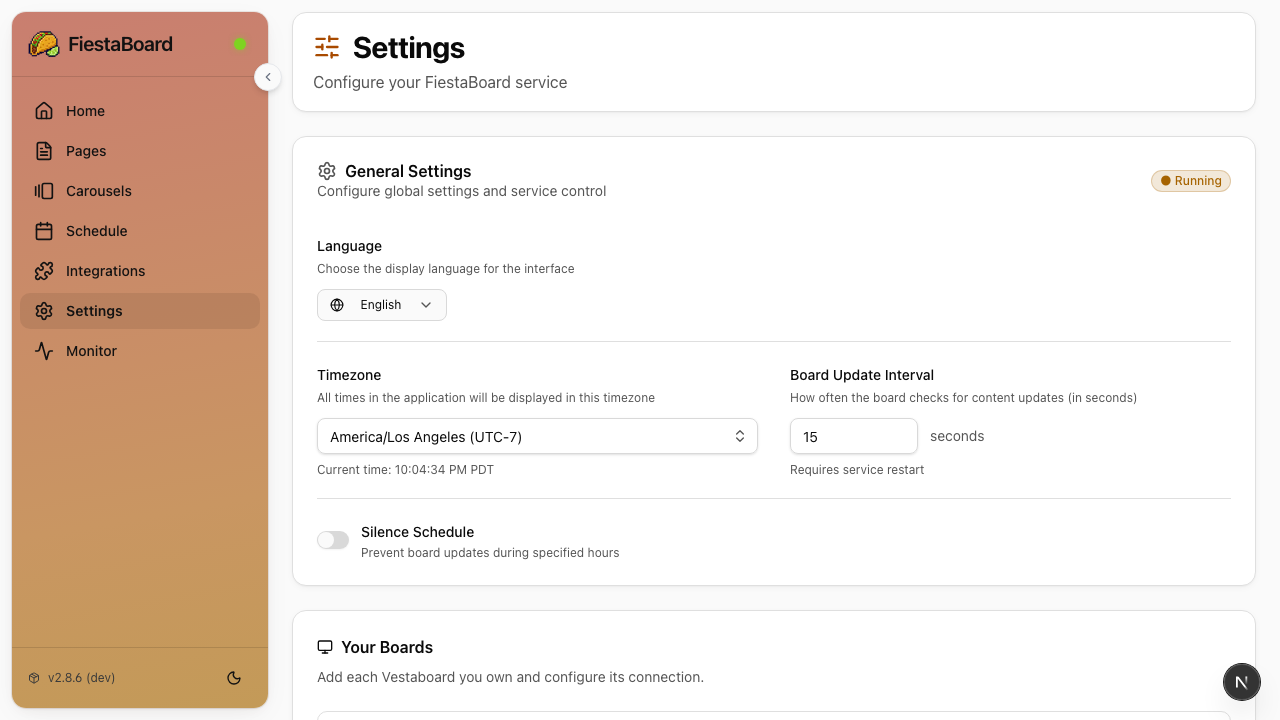
- Use the token to enable the Local API — FiestaBoard's Settings page can do this for you, or see the Vestaboard Local API docs
- Save the API key and note the board's IP address
Cloud API (Alternative)
Works from anywhere with internet. No transition animations. See Cloud API Setup for details.
- Go to your Vestaboard account
- Navigate to the API section
- Enable Read/Write API
- Copy your key
Stopping and Restarting (Docker only)
# Stop FiestaBoard
docker-compose down

# Start again later (no rebuild needed)
docker-compose up -d
After restarting, open http://localhost:4420 — the service resumes automatically.
On FiestaPi, FiestaBoard starts automatically on boot — there's nothing to stop or start manually.
Next Steps
- FiestaPi Quick Start - The recommended Pi-flash path, in detail
- Your First 10 Minutes - Create your first page and enable plugins
- Plugins Overview - See all available plugins
- Beginner's Guide - More detailed step-by-step instructions
- Docker Setup - Understand the Docker architecture
- Raspberry Pi Deployment - Advanced setups (Pi you already have with Docker)