Quick Start
Get FiestaBoard running in under 5 minutes.
What You'll Need
- Your board's API key (how to find it)
- Docker and Docker Compose installed on your system
Docker Desktop is free and takes a few minutes to install: Mac | Windows | Linux
If you've never used Docker before, the Beginner's Guide walks through every step.
Option A: Docker Hub (Simplest)
No repository to clone. Just two commands:
# Download the compose file
curl -O https://raw.githubusercontent.com/Fiestaboard/FiestaBoard/main/docker-compose.hub.yml

# Start FiestaBoard (pulls the image automatically)
docker-compose -f docker-compose.hub.yml up -d
Open http://localhost:4420 in your browser. You'll see the FiestaBoard dashboard.
FiestaBoard advertises itself on your local network via mDNS/Bonjour. From any device on the same network you can use http://fiestaboard.local:4420. If .local addresses don't work on your network, use your server's IP address instead (e.g. http://192.168.1.50:4420).
Option B: Install Wizard
Clone the repository and run the install script. It checks prerequisites, starts the server, and opens the setup wizard in your browser:
git clone https://github.com/Fiestaboard/FiestaBoard.git
cd FiestaBoard

# Mac/Linux
./scripts/install.sh

# Windows (PowerShell)
.\scripts\install.ps1
The wizard asks for your board API key, device type, and board color, then starts everything for you.
Connect Your Board
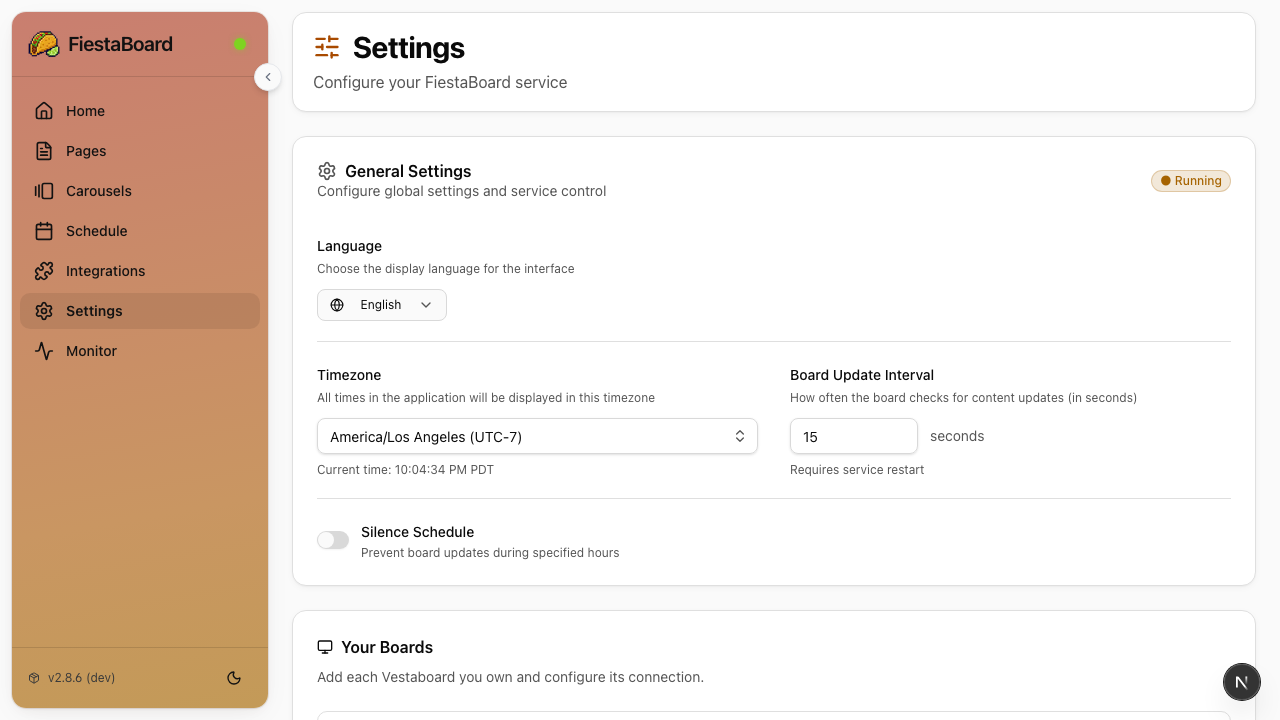
Once FiestaBoard is running at http://localhost:4420:
- The setup wizard will guide you through connecting your board (or go to Settings if you've already been through setup)
- Once connected, the display service starts automatically
- Verify the dashboard shows Running — your board is now connected!
What to Do Next
Now that FiestaBoard is running, you'll want to:
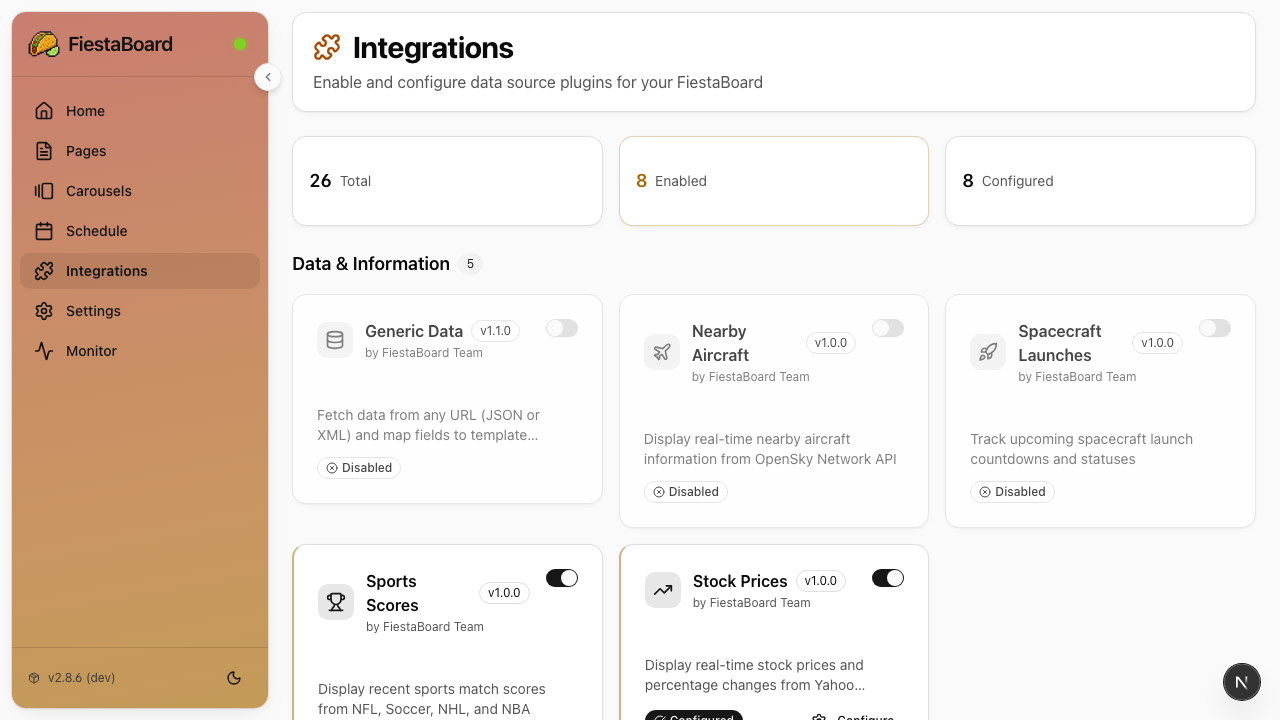
- Enable some plugins - Go to the Integrations page and turn on plugins like Date & Time, Star Trek Quotes, or Weather
- Create your first page - Go to Pages, click New, and use the visual editor to design what your board shows
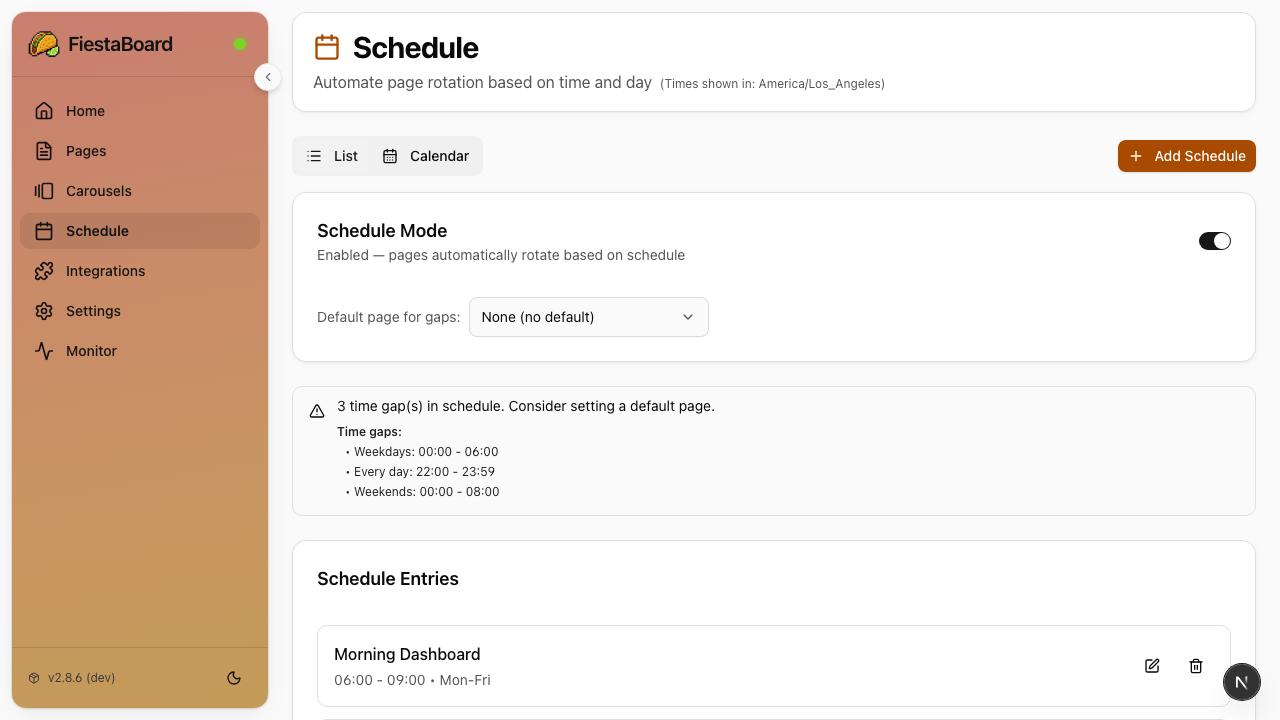
- Set up a schedule - Go to Schedule to automate which pages display at which times
Many plugins need no API key: Date & Time, Star Trek Quotes, Guest WiFi, Visual Clock, Sun Art, Disney Parks, Surf Conditions, and more. Start with those while you gather API keys for weather, traffic, etc.
For a full walkthrough, see Your First 10 Minutes.
Getting Your Board API Key
Have your board API key ready before running setup. There are two connection modes:
Local API (Recommended)
Faster updates, supports transition animations, works over your local network.
- Request a Local API enablement token at vestaboard.com/local-api
- After approval, Vestaboard emails you the token
- Use the token to enable the Local API — FiestaBoard's Settings page can do this for you, or see the Vestaboard Local API docs
- Save the API key and note the board's IP address
Cloud API (Alternative)
Works from anywhere with internet. No transition animations. See Cloud API Setup for details.
- Go to web.vestaboard.com
- Navigate to the API section
- Enable Read/Write API
- Copy your key
Stopping and Restarting
# Stop FiestaBoard
docker-compose down

# Start again later (no rebuild needed)
docker-compose up -d
After restarting, open http://localhost:4420 — the service resumes automatically.
Running on a Raspberry Pi?
The same Docker image works on Raspberry Pi (ARM64). Follow the steps above on your Pi, or see the Raspberry Pi Guide for auto-start on boot and performance tips.
Next Steps
- Your First 10 Minutes - Create your first page and enable plugins
- Plugins Overview - See all 23 available plugins
- Beginner's Guide - More detailed step-by-step instructions
- Docker Setup - Understand the Docker architecture